Getting Started (non-developer)
Getting started with Embodied Code on the Quest 2 headset:
Using the Embodied Coding Environment:
Sharing Your Experience:
- Streaming your Headset
- Getting Help - email us or join our discord!
Put your headset in developer mode
Follow this guide to setting up developer mode on your headset. Roughly:
- Register as a developer with Oculus
- Use the Oculus App on your phone to connect to your headset and enable developer mode
- Reboot your headset and verify the settings menu now shows developer settings
- Make sure to enable the USB connection dialog in developer settings
Install our App
Download the latest release here orobtain an APK from the dev team.- Download SideQuest - SideQuest is an application that lets you install applications that have not been registered with Oculus and checked for viruses. Only sideload applications from people that you trust, as this bypasses a lot of security.
- Connect your headset to your computer. You headset should ask you if you want to allow USB Debugging on the device you just connected. Click Allow/Always. SideQuest should now show a green icon in the top left indicating that it has successfully connected. What you have done is allowed your computer (and SideQuest which runs on your computer) to control your headset, install software, uninstall software, read your files, etc.
- In the top right of SideQuest, there is a list of icons, click on the “Install APK” button
 and find the
 .apkfile you downloaded in step 1. - SideQuest should notify you when the install succeeds/fails.
Launch the App
- In the Quest 2 home screen, open the Apps Drawer (grid of squares)
-
- In the top right, there is a drop down menu that allows you to filter your applications. By default it is set to “All Applications”. This is misleading. Click the dropdown, and filter by “Uknown Sources”.
-
- Select the
EmbodiedCodeapplication and it will launch. -


You are now running the Embodied Code system.
Using the Embodied Coding Environment
Intro Tutorial
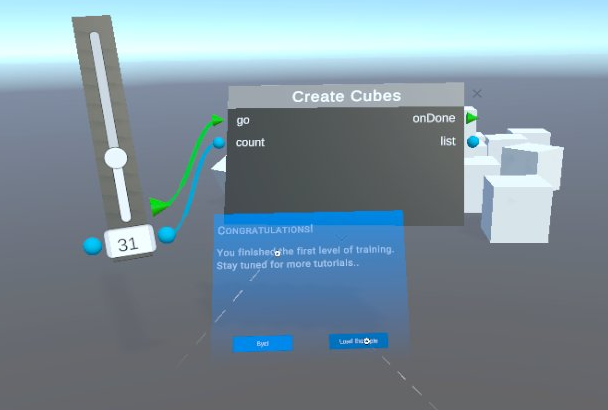
For a brief introduction, start the app and follow the introductory tutorial. Click “yes”.

This tutorial will walk you through making a node (object_cubes) and UI element (ui_slider_integer), connecting them up, and using these to create in-game geometry you can manipulate with physics.
Popcorn Example
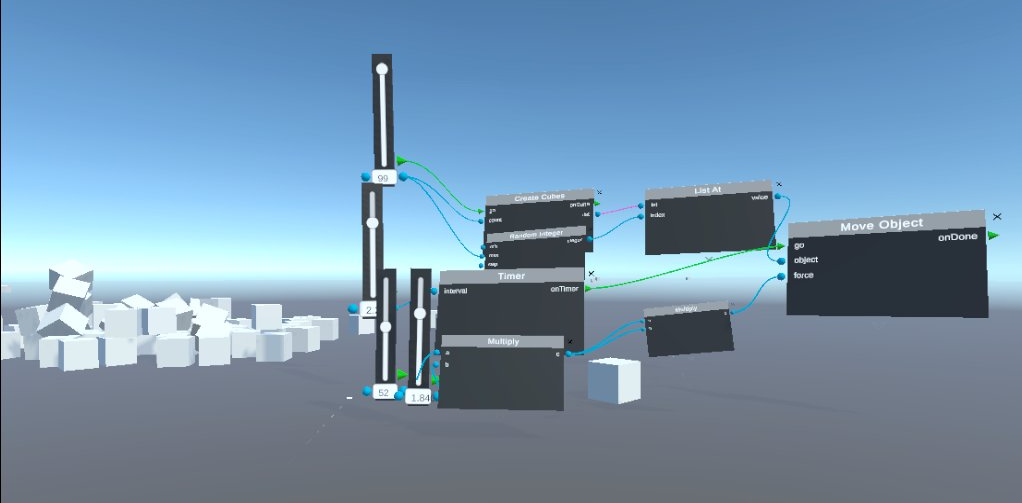
To continue to an intermediate level example, click “Load Scene”:
You should see the Popcorn example. Exlore the different nodes and try to ascertain what the system is doing.
Streaming Your Headset
You can stream your Quest 2 view to a compatible web browser (Chrome, Edge, or similar). Make sure your browser and headset are on the same wifi network.
In your browser, go to https://www.oculus.com/casting:
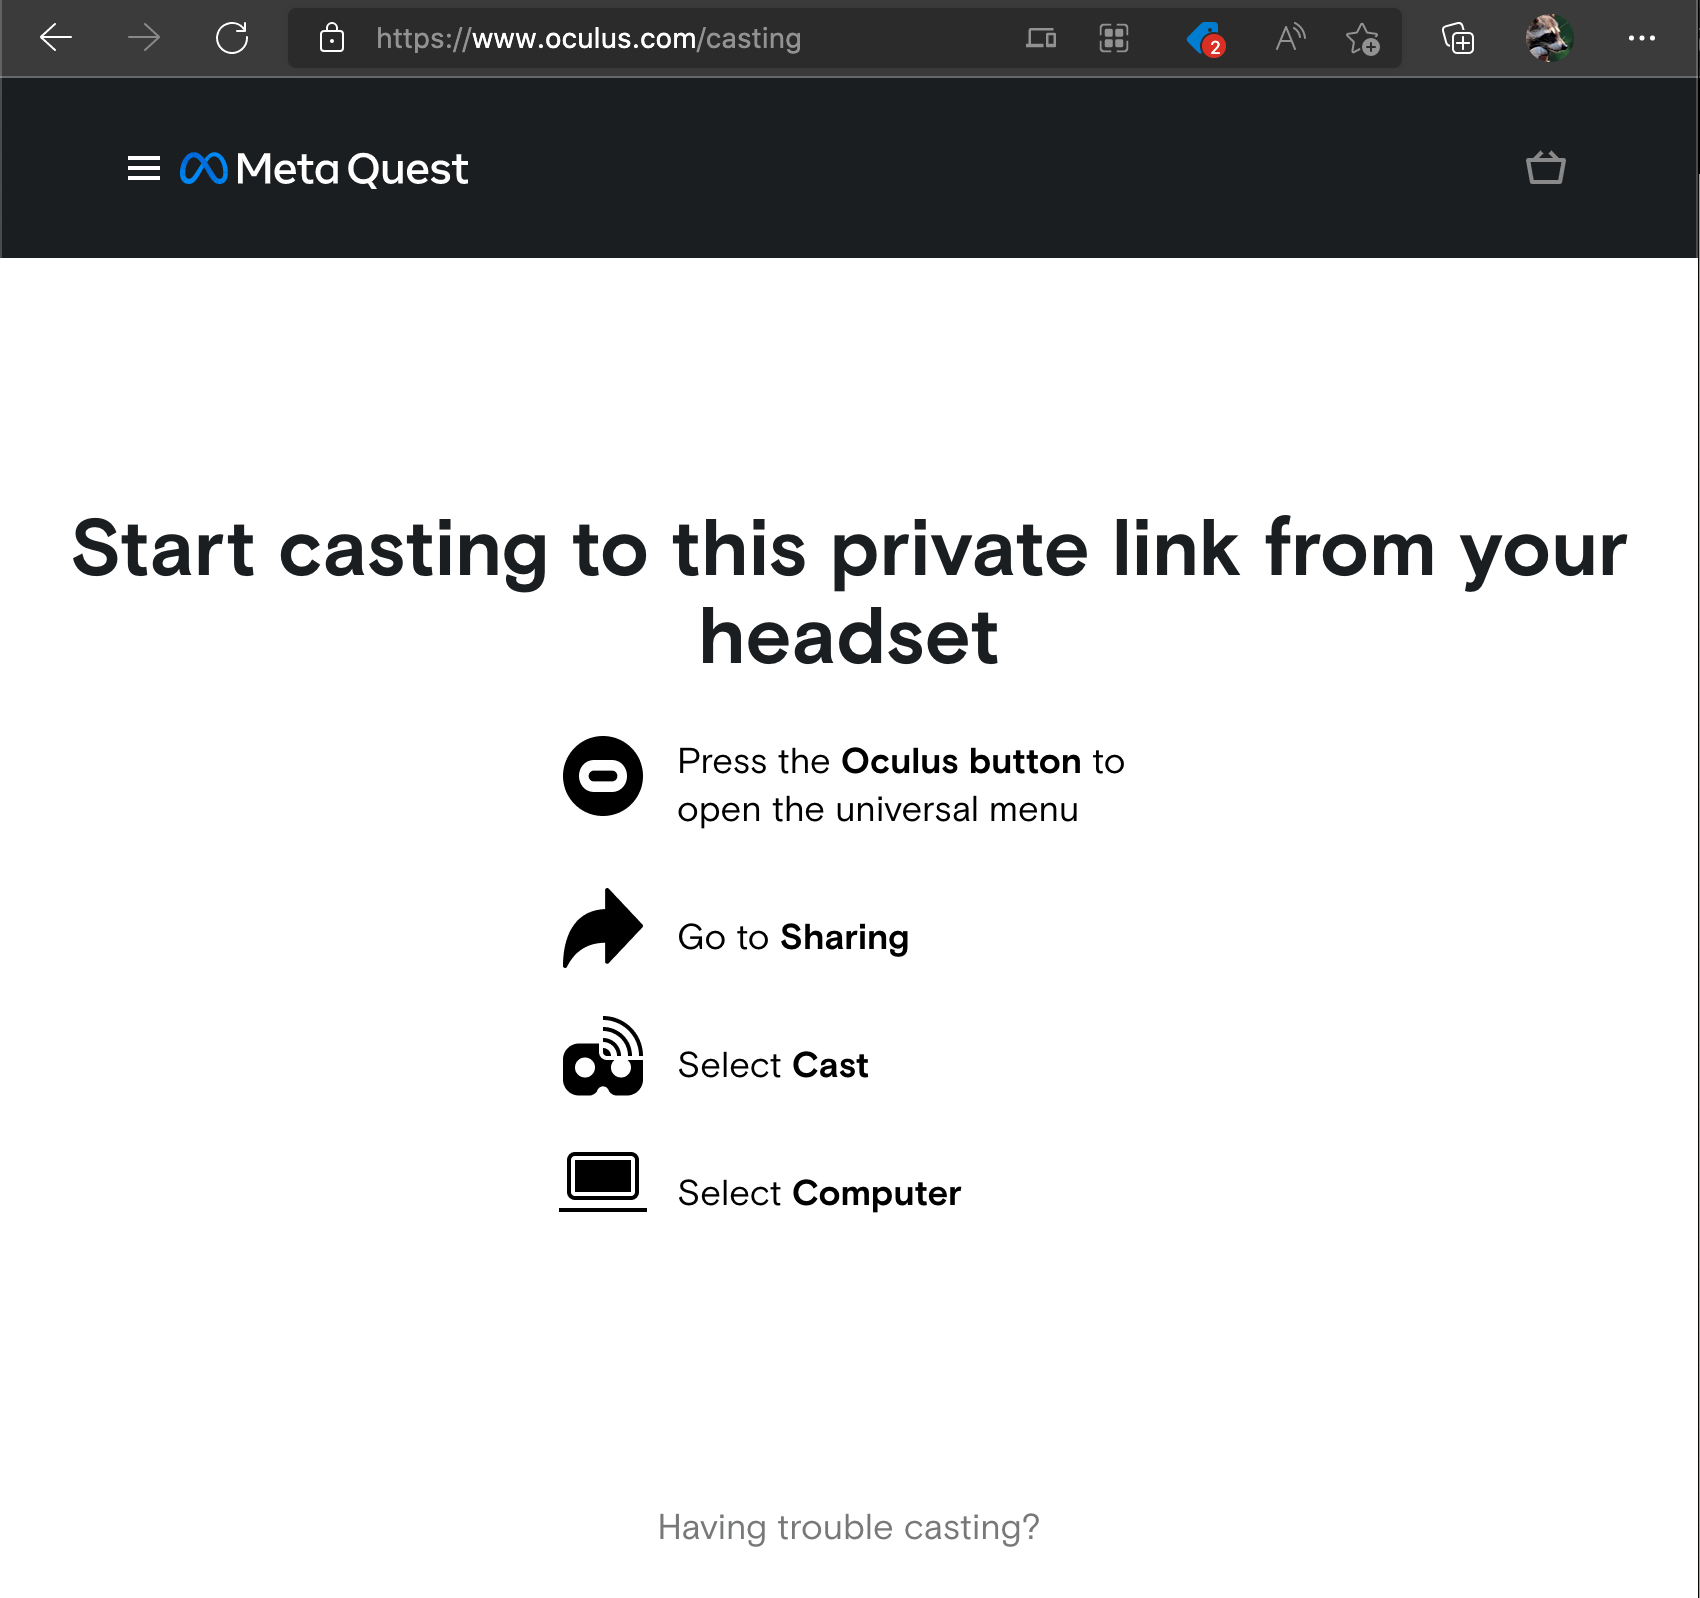
On your Quest 2, press the Oculus Button, go to Sharing, select Cast, select Computer, and your stream should show up in the browser!
You can share this in Zoom or similar via screenshare.